Home

Sunday, January 29, 2012

Anthro Vase Knock-Off

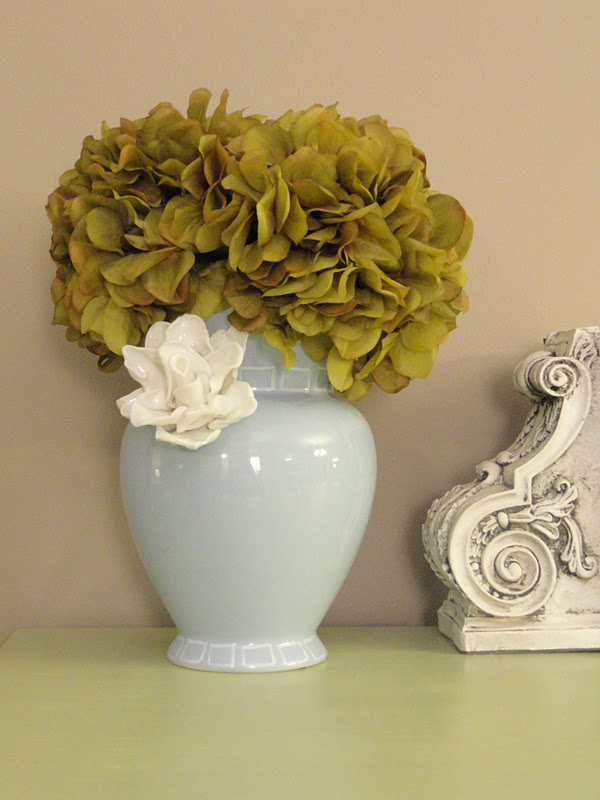
OK, who doesn't love a knock-off, especially if it's from anthropologie.  I had a plain light blue vase  that I picked up in the summer and had used Sharpie oil pens to draw rectangles around the bottom and near the top lip to add some interest.   I liked how it looked but never loved it. 
Well here's my vase now and NOW I love it.


Here's how it went from generic to gorgeous:

Since it's been super cold outside and not wanting to brave the elements, I've spent my fair share of time blog hopping and staying warm.  While searching new blogs I came across a beautiful vase with this white porcelain flower on it.....or so I thought.  I read further down and realized that the flower was made from PLASTIC SPOONS.  That's right spoons!!

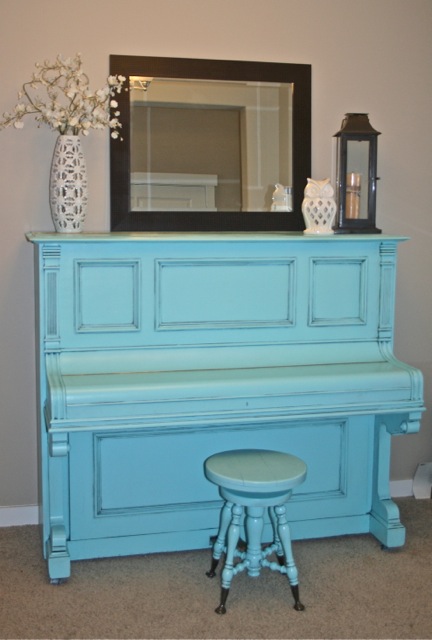
This fun blog (The Turquoise Piano) led me to a tutorial (Can't Stop Making Things) that I followed to get this gorgeous flower

It's made from 14 spoons.
The tutorial is great and was super easy to follow and it's so fun to watch the spoons warp and transform into petals.

So if you're ever stuck inside with nothing to do....pull out some spoons and make flowers....
Who knew?
(thanks Dr. Suess)


linking


Friday, January 20, 2012

Chameleon Painting

Well it's been very cold here (-30 C) and instead of facing the cold I decided to stay inside, pull out the paints and do a painting for my little boy's room.  I saw this chameleon on pinterest and was totally inspired to have a chameleon painting in his room.  He sat next to me and painted his own painting all morning and we had a very fun day together.


I thought I would show you some of the stages of the painting.
First is the empty canvas (some days I find it inspiring and others intimidating)


Then I did a quick sketch.


Ripped some paper into strips and "glued" them down with gel medium.


I added some paint on the background and some fiddle heads, mushrooms and leaves on the paper.
(I was loving these on pinterest )


and started painting all the details and stencilling where I felt it needed it.


One more branch and some shadowing and it's done.


It's darker than the real thing and the colours are a little muted but, I was NOT going to go outside for a good photo so I put it as close to a window as possible and stayed nice and warm all day long.

Sunday, January 15, 2012

Piano Perfection

A little while ago I had a dear friend who fell in love with the idea of a turquoise piano.  So deeply did she fall that she began to search the classifieds to get one right away.  This is the beauty she found and even talked the woman down to $50.00.  As soon as I saw it I knew it had great potential for an amazing transformation. 


Just look at all the inlay and detail on the front.


Well the first step was to wood fill and sand, because it needed a little hole repair where sconces use to be attached (the owners no longer had them) and some of the wood had chipped away on the curved front.


Then we primed with Kilz Primer (my favorite)


And then painted with Krylon.
(My friend has a lot of green in her house and was initially drawn to go that route, but after some discussion she decided on turquoise and I know she made the right choice.)


Next was to add the glaze


At first she felt sick.
I told her not to worry, that at first you do get a sick feeling at seeing all your hard work looking so dirty.  She relaxed quickly and could see how when wiped down the glaze really only stays in the cracks and edges and gives depth to all that gorgeous detail.
And now it sits in her house looking awesome.


It is really such a beauty and I love how it turned out.