Home

Wednesday, December 28, 2011

My Favorite Projects of 2011

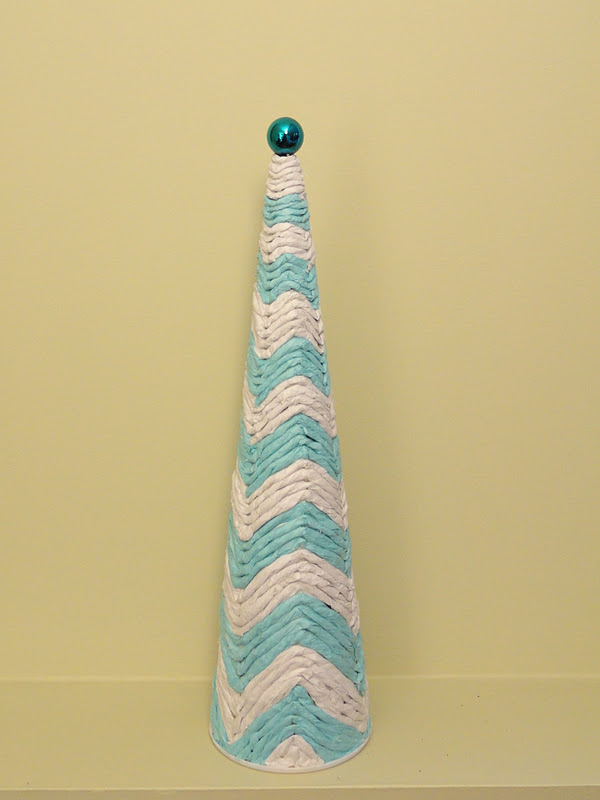
Well, it's been 8 months since I started my blog and joined the productive side of blogland  instead of just watching everyone else do amazing things.  It has been a great experience and so wonderful to have a place where I can feel creative again.  I've plenty of  new goals for 2012 but, before the new year starts I thought I would review the past.  Here are some of my very favorite projects from 2011.


and


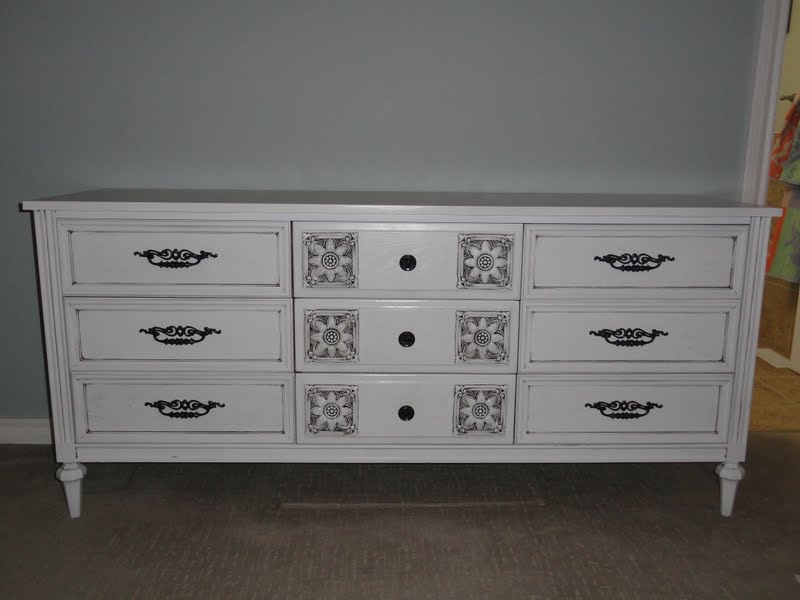
It has been such a great year and who knew that I would've fallen so deeply in love with refinishing furniture.  I'm already on the lookout for new pieces and I can't wait until the weather gets warmer and start painting again.   I eagerly look forward to 2012 and all the possibilities that it holds.

To the future.

Friday, December 23, 2011

Dreaming of a White Christmas

We've been having a very mild winter so far and it finally snowed again and covered everything in a beautiful white.  It totally inspired my Christmas decorations in my front room this year.  I went with sliver and white with a touch of blue and green.  I hope everyone has a very Merry Christmas and can reflect on the blessings in their lives, I know I have.  Merry Christmas!


Friday, December 16, 2011

Poppies

One of the reasons I started my blog this year in April was to have some place to show my paintings.  Somewhere to motivate me to keep doing the things that I love to do. 

 Here is a painting for my mother.


Friday, December 9, 2011

Chevron Tree

I was so inspired by the tissue Christmas trees found at acreativemomma that I had to buy some supplies and make my own......with a  twist  (wink wink, no pun intended)......CHEVRON.


Here's how I made it. 
First I followed the instructions from a creative momma and twisted lots and lots of tissue paper strips (2" wide and doubled up so that they didn't rip as much)


Then I twisted a 12x 12 piece of card stock into a cone and placed it onto a plastic popcorn cup (from the dollar store) and hot glued it in place.


 Drew a chevron pattern onto the cone and added 4 layers of twisted tissue in each colour.


 .......and continued until the cone was covered.


Voila

I love the rope look to the tissue and love, love and pattern on the tree.

linking with


Tuesday, December 6, 2011

#5 and #6 Owls

The owls are complete and just in time as we set up Christmas last night.  I 've had so much fun with these little owls that I'm a little sad that I only had to make six.  My youngest has been completely enamoured with them and knows which one belongs to each member in our family. 

 Here is # 5
my husband's


and #6
 my second daughter's


 and this is the whole * parliament


 another group shot


A tiny tidbit of  information (in case you're ever on a game show and the question arises)
There are different "group"names for different birds.
Here are some I didn't know and found interesting.

* a parliament of owls
* a murder of crows
* a mob of emus
*a clutch of chickens
*a company of parrots
*a pride of peacocks
* a conspiracy of ravens
*a charm of hummingbirds

and my favourite
* a bouquet of pheasants
(it just sounds so pretty)

linking with
cherishedbliss
dittledattle
ablondesdiylife
firefliesandjellybeans


Thursday, December 1, 2011

Owl #4 and a mini tutorial

Well I finished owl #4, this one is for my oldest girl, who's favorite colours are pink and green.


I thought I would add a min tutorial on how to make these little owls. 
First trace 2 body shapes onto some felt.


 Then cut out eyes, wings and a triangle for the top of the head.  You can add details on the wings with patterned fabric (just use a straight stitch on your sewing machine).  You will also need two buttons for the eyes.


Start adding more details with embroidery floss.


I'm trying to make each one unique and have been having fun trying different looks


 Sew around the curved edges and stuff with batting, before you stitch the bottom closed.  I chose to add a blanket stitch to the outside to give it a nice finished edge.

Thursday, November 24, 2011

Owls 2 and 3 Join the Brood

Finished owl #2 and #3 late last night,  half of the brood is complete.
Here are all three together.


This is # 2.  He will be for one of the boys.


This is # 3, I think she's mine.


 I painted a stencil on the felt, but found it was too busy for the body. 
 So used it for the wings and ear tufts instead.


This was #1, she was made for my youngest girl.


Wednesday, November 23, 2011

Knock off Owl

I was poking around on crate and barrel and found the cutest owls  for the Christmas tree.  Just had to try my hand at making some. 

  Here is my first attempt.
Since there are 6 people in my family (and I have 5 more to make) I get to play around with different stitches, felts and I might even paint a pattern on one.  Super easy and cost me next to nothing.
firefliesandjellybeans
theshabbycreekcottage
houseofhepworths

Monday, November 21, 2011

Star (Pennant) Banner

Did you know that there are only 10 more days in November?  I did today and decided it's time to get going on some Christmas crafts.  I just attended a fun Saturday morning of crafts at our church and was able to learn how to make these cool stars out of paper (they can also be made out of cardboard).  We have our ward Christmas party this Saturday and the Young Women in our Church were asked to decorate the gym and since I work with the youth  I was working on stars all morning.

 Here is the banner  I made at home.


and here's how you make them  Get any 12 x 12 paper.


 Flip it over and trace your star shape on. 
You can make your own template by making 5 triangles that have a base of 3" and sides that measure 4.75" and then laying them so the bases touch at the tips (you will end up with a pentagon in the middle).  Hope thats helpful and not confusing.


Then you take the back of a butter knife and a straight edge and score a line from all 5 points like this.  Then flip it over and fold on the score line from the long point to the middle, do this for all 5 points.  The short fold left will naturally want to fold the other way.


 and then you have your star


To make a banner punch two holes on one point.


String it up and hang it on your mantle, window or wall.


For another look add more stars, find the middle star and attach it to your mantle.
linking
dittledattle

Friday, November 11, 2011

Stunning Secretary Desk

I did it, I finished my last big piece of furniture that's been sitting in the garage.  None to soon either as we are expected to get snow real soon.  Even those cities to the south of us have had their first snowfall and yet today was a beautiful 11C and so I spray painted while the kids played on the play set in the backyard.

This secretary's desk was my last big project to finish.

 Love the inside. 


So here it was before


 and this is it after


 with a little pop of colour on the pulls and the inside


I added detail to the flat drawer fronts with paintable wall paper and glazed the details


 So yucky looking here, but.....


 I love how it just makes everything POP


 and a little turquoise is always lovely


 Beautiful and completed
(two of my favorite words)

linking

Photobucket


 I was featured on
 CRAPTASTIC