Home

Monday, April 15, 2013

Tea Party Birthday

 
It has been a very busy week. 
Another birthday party was plan and completed.
 
My youngest daughter
just had to have a tea party themed birthday
this year. 
 
I think she did it so that her friends and her could dress up
in pretty dresses
with jewelry
 and fancy hats and eat
dainty food.
 
I love that she's so girly it's kind of fun for me to have to tap into that side.


So out came the bins and bins of scrapbooking paper
and the pinwheel and bunting
assembly lines began.


The bunting was so easy and cute that I might keep it and put it in the girl's room


The cake was quite the challenge, but turned out OK, don't look too close at my chocolate drizzles I was feeling a little rushed at the end.
 
 
The party guests all got to make their own
which turned out to be very pretty and made the girls feel so fancy
that they all talked with English accents
as they asked each other to
pass the petit fours.


They also got to use one of Grandma's china sets,
 and I wish I had taken a better picture to show
 you how cute the
 mismatched sets looked together. 
 
 
 We gave the guest to eat:
(sorry I didn't take any pictures of the food, these are the recipes I used or as close as I could find)
 
cucumber sandwiches
cucumber-sandwiches
 
lemon and cherry tarts
Christmas tarts
 
nanaimo bars
Nanaimo Bars
 
 
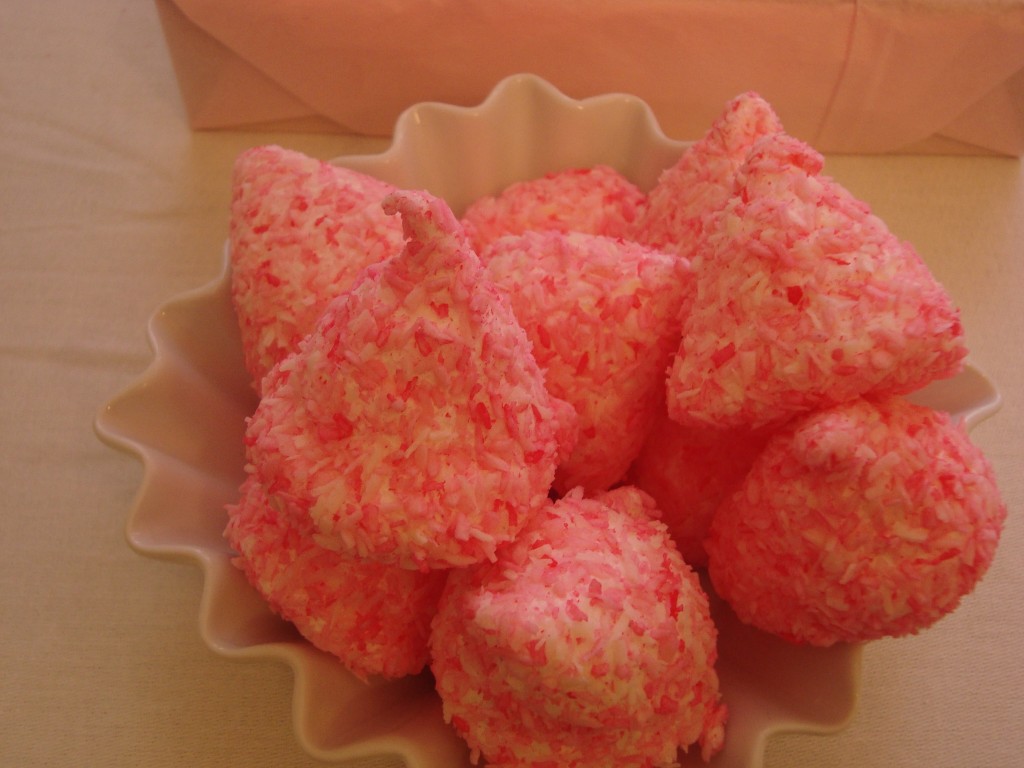
marshmallow puffs
marshmallows
 
cracker and cheese hor d'oeurves
 
Cheese hors d'oeuvres on sticks - closeup Stock Photo - 8657560
 
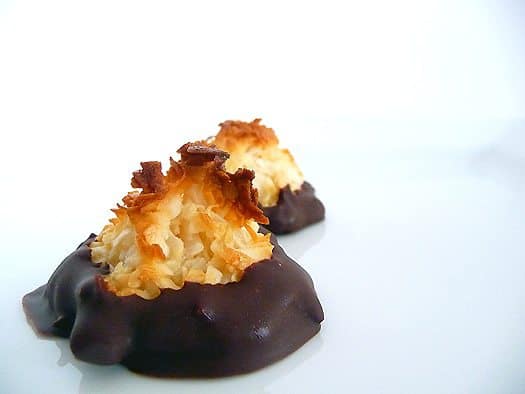
coconut macaroons
 
coconut-macaroons-main
 
mini cupcakes
 
Mini Cupcakes
 
strawberry and banana pancake stacks
 
Strawberry Shortcake Kabobs | Recipe By Photo
 
and tons of orange pineapple "tea"
with frozen friut kabobs
(which I forgot in the freezer so we ate them at our family dinner instead)
I only did blackberry, strawberry and grape ones.
 
Pinned Image
They were very full at the end.
:)
 
Then the girls posed for some group pictures.


I believe the girls had fun and I'm so
grateful to my older girls who served the guests and allowed the younger girls
 to call them "Jeeves" all afternoon.
 
One of my favorite projects that I did for the party was to
 finally wrap my glass vases that I've
had kicking around for
 three years,
 just waiting to have something cool done to them.
 
 
I also made some beautiful
coffee filter flowers to go inside,
 again a project that I've waited a while to actually do.
(I might be a bit of a procrastinator)


So worth the wait though.


linking with


Thursday, April 4, 2013

How to Elevate Your Child's Art

Just thought I  would share a fun little art project that I like to do with my kids. 
 
 They love it and it's not as
 messy as just painting with normal paints.
 
 
To start you will need the following items:
 
-ultra fine tipped sharpie permanent marker
-green painters tape (any brand)
-water colour pencils ( I love the brand from staedtler found at walmart)
-paint brushes
-paper
 
(anything heavier than just photocopy paper...you don't need to go out and buy watercolour paper, card stock works perfectly)
 
 
Next you need to tape down your paper making sure that the tape is put on straight and even as this will become your border and hold your paper down while it dries.   I'll explain why this is so important later.

 
Get your child drawing.  I like to let them get a toy and put it in front of them so they can look back and forth from their drawing to the toy.  This is called observational drawing and it's a great way to get your kids looking at details when they draw.
 
 
Next use the watercolour pencils to add colour.  Don't worry about filling every little spot of white.
 
 
The best part about the pencils are that you can add different shades and then when you add the water it blends so beautifully.


Let your main image dry just a little before you do the background so that the colours don't run together get all muddy.
 
I also like to let them label what they've drawn, cause their printing is always so cute.


So here is a picture of the painting drying. 
 
Paper will buckle when wet.  The tape that you added for the clean border also anchors the painting while is dries.  Paper has whats called SIZING in it.
It's a solution that consists of starches and other agents,
(you can look it up on wikipedia if you want. )
When paper gets wet it activates those solutions and the paper buckles.
If you have secured the paper before it gets wet and then leave it secured while it dries, it will dry to a crisp flat surface again.
 
Before dry
 
 
After dry.
(you must wait until perfectly dry)
 
 
Then you can carefully remove the tape and have a nice clean border.
 
 
remember let them dry completely. 
 
Because you used a permanent marker
it won't run when you add the watercolours and looks like an illustration.
 
 
I love how cute they always look.
Let them do their thing, the art is always so perfectly imperfect.
Love it.
 
 
You can easily put them in a frame, hang them up or make a book of all their art.
 
 
My daughter also wanted to do some and got out her Siamese cat.
 
 
When I saw her drawing I totally laughed because it reminded me of the grumpy cat that's popping up all over the Internet.


Hope this inspires you to let your kids draw and paint and
end up with something that is so cute and easy to keep.
 
linking with