I've been sewing a lot and not doing much
painting or furniture
because of the cold weather.
So how could I say no when I was asked to help out with the upcoming stake roadshow sets by
painting some pallets
It gave me the chance to finally do some pallet art and not just have a
full of ideas that I'd like to do one day.
So I said yes and then wisely
recruited some of my friends and they all got on
"board"
to help get them done.
So here's what the pallet looked like before we started.
(not your typical old pallet, this baby was solid and took a lot of effort to get apart)
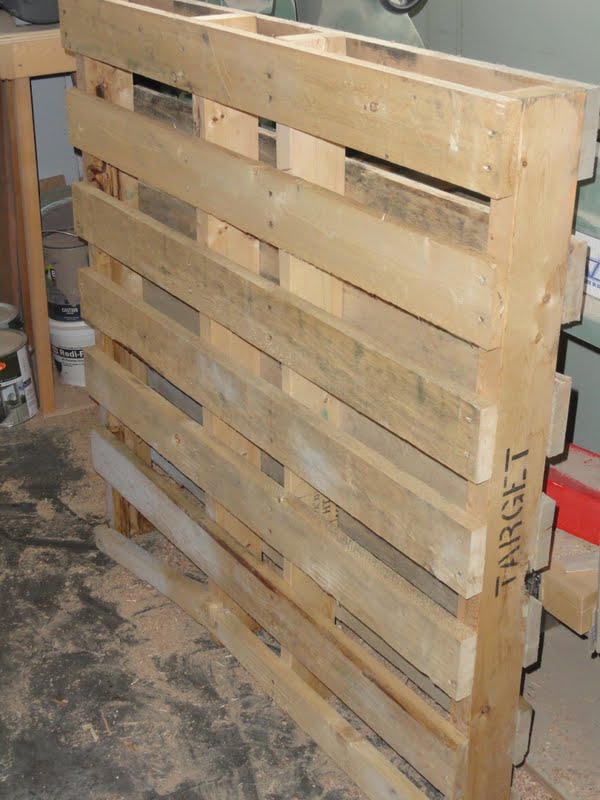
Had to pull off every board but the bottom and then pull out all of these amazing rusty nails.
Don't let their beauty deceive you, they're sharp and after a little run in with one
I got to go and get a tetanus shot.
Thank goodness for
health care as
it cost nothing and took 15 minutes.

After all the nails were removed, I sanded the edges of each board and then fit them back on the front to have a nice solid surface.
I ended up using all of the old nails to put the boards back
on because they were just too darn
pretty and rusty
to throw away.

Then came the fun part...the painting.
I decided to do a mustache for my first one and cut
myself a template from
cardboard and traced it on.

Then I picked a darker colour and outlined the image.

I sanded down some of the edges and flat areas.

Now I needed to age it and used my trusty old vinegar and steel wool mixture that I used during the summer on this coffee table. It totally greyed the paint and started to turn the wood brown.

I then added a lighter blue on top using a dry brush and hardly any paint.
I also was not loving the reddish brown on the mustache and used some dark walnut stain to make it pop a little more.

Here's a closeup of the piece.

I really love the wood peeking though.


So only nine more to show.
It's going to be quite exciting to see what everyone else does.
linking with
diybydesign
savvysouthernstyle
cleanandscentsible
sugarbeecrafts
coastalcharm
adornedfromabove
notjustahousewife
sweetlittlegals
thediydreamer
craftsalamode
sugaranddots
somedaycrafts
firefliesandjellybeans
frommyfrontporchtoyours
savvysouthernstyle
cleanandscentsible
sugarbeecrafts
coastalcharm
adornedfromabove
notjustahousewife
sweetlittlegals
thediydreamer
craftsalamode
sugaranddots
somedaycrafts
firefliesandjellybeans
frommyfrontporchtoyours
embracingchange
houseofhepworths
createcraftlove
myrepurposedlife
alittleknickknack
frenchcountrycottage
chiconashoestringdecorating

houseofhepworths
createcraftlove
myrepurposedlife
alittleknickknack
frenchcountrycottage
chiconashoestringdecorating
I love doing pallet art work - and you did a fantastic job!!!
ReplyDelete( sorry about the tetanus shot -but you're good to go now for 10 years LOL )
Visiting from the awesome Adorned from Above,
Hugs,
Suzan
This is true....I'm covered for 10 years....bring on the rust.
DeleteWow. This is fabulous. I'd love to have you share this at What to do Weekends Party. I'll have to tell my daughter about this - I'm pinning it also. Take care, Linda
ReplyDeletehttp://www.craftsalamode.com/2013/02/what-to-do-weekends-8.html
I love this! So cute! We were driving by a new store the other day and there was a "free pallet" sign. I furiously racked my brain to remember an amazing Pinterest creation that could justify cramming them into my husbands car. :) Next time, I'm loading up. I'm so glad to have found your lovely blog. You have a new fan (and follower).
ReplyDeleteGreat job! How fun. Tell me now, cause I've disassemble some pallets before, what was your technique for getting the nails out? Mine were not reusable that was for sure!!
ReplyDeleteI didn't think they would be usable either, but by the time I pounded and then pulled them out they were some what straight and I was able to use them again.
DeleteI love it! I would love for you to be a guest judge on my blog. It is a craft competition blog. I am looking for judges for April.
ReplyDeleteCome on by and let me know.
www.thecsiproject.com
dee@thecsiproject.com
Absolutely WOW!!!!!!
ReplyDeleteThanks so much for sharing this at The DIY Dreamer.. From Dream To Reality! I can't wait to see what you link up tomorrow evening!
cute! I can't believe you got those nails out. Whenever I've tried, the boards broke. AND, it's a good thing you got the tetanus shot.... doing what we do, we ALL need to be up to date!
ReplyDeleteway to go!
gail